Hey!
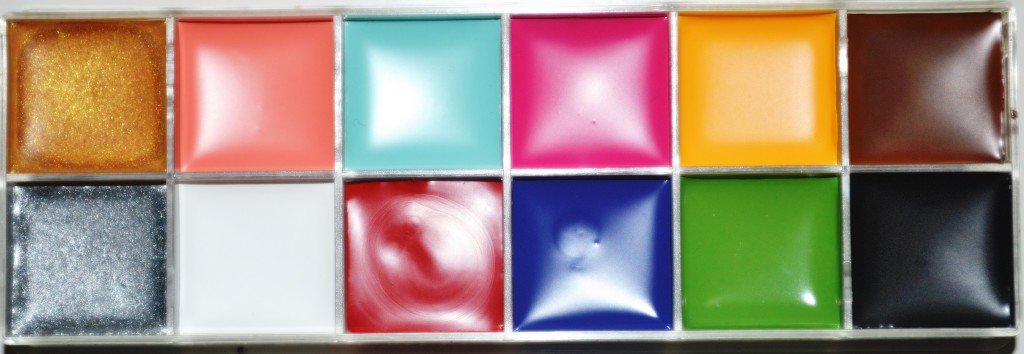
Today’s tutorial is all about the bright colours. 🙂 I’m using IMAGIC Flash Palette for this look.
CLICK HERE To see the Review and Swatches of IMAGIC Palette.
Let’s start White/Red Winged Eyeliner Tutorial 🙂

2. Set it with the white eyeshadow, that prevents the white color from creasing. Otherwise the color will crease in 5 blinks 😀 I’m using MUG’S ‘White Lies’

5. Make a thin blue line under the red wing. Don’t worry if it’s not perfect because we’ll fix it later.

7. Fill in the line with the same blue color. Apply it to the tear line too. Be careful because red color can easily get to your crease as you see 😀
Thanks for reading! 🙂
If you want to get notified when I post something new FOLLOW THIS BLOG. <3
See ya 🙂


Love this tutorial, it reminds me of Croatian flag lol because of the colours (red, white and blue) 🙂
Your blog is very impressive. Very beautiful eyeliner shade and your are describe very clearly.
Thank you for sharing this beautiful blog…