Hey!
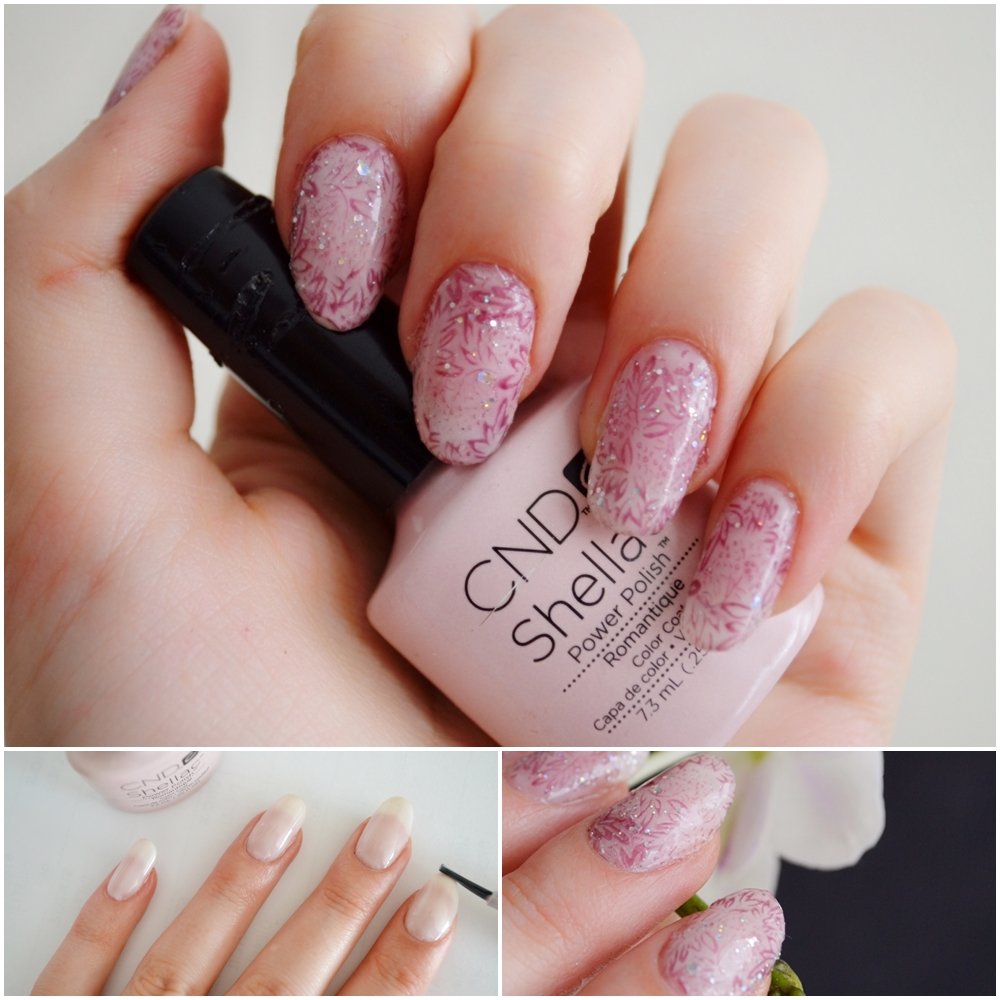
NEW Step By Step Summery Leaves Nail Art Tutorial using CND Shellac nail polishes is here! 🙂
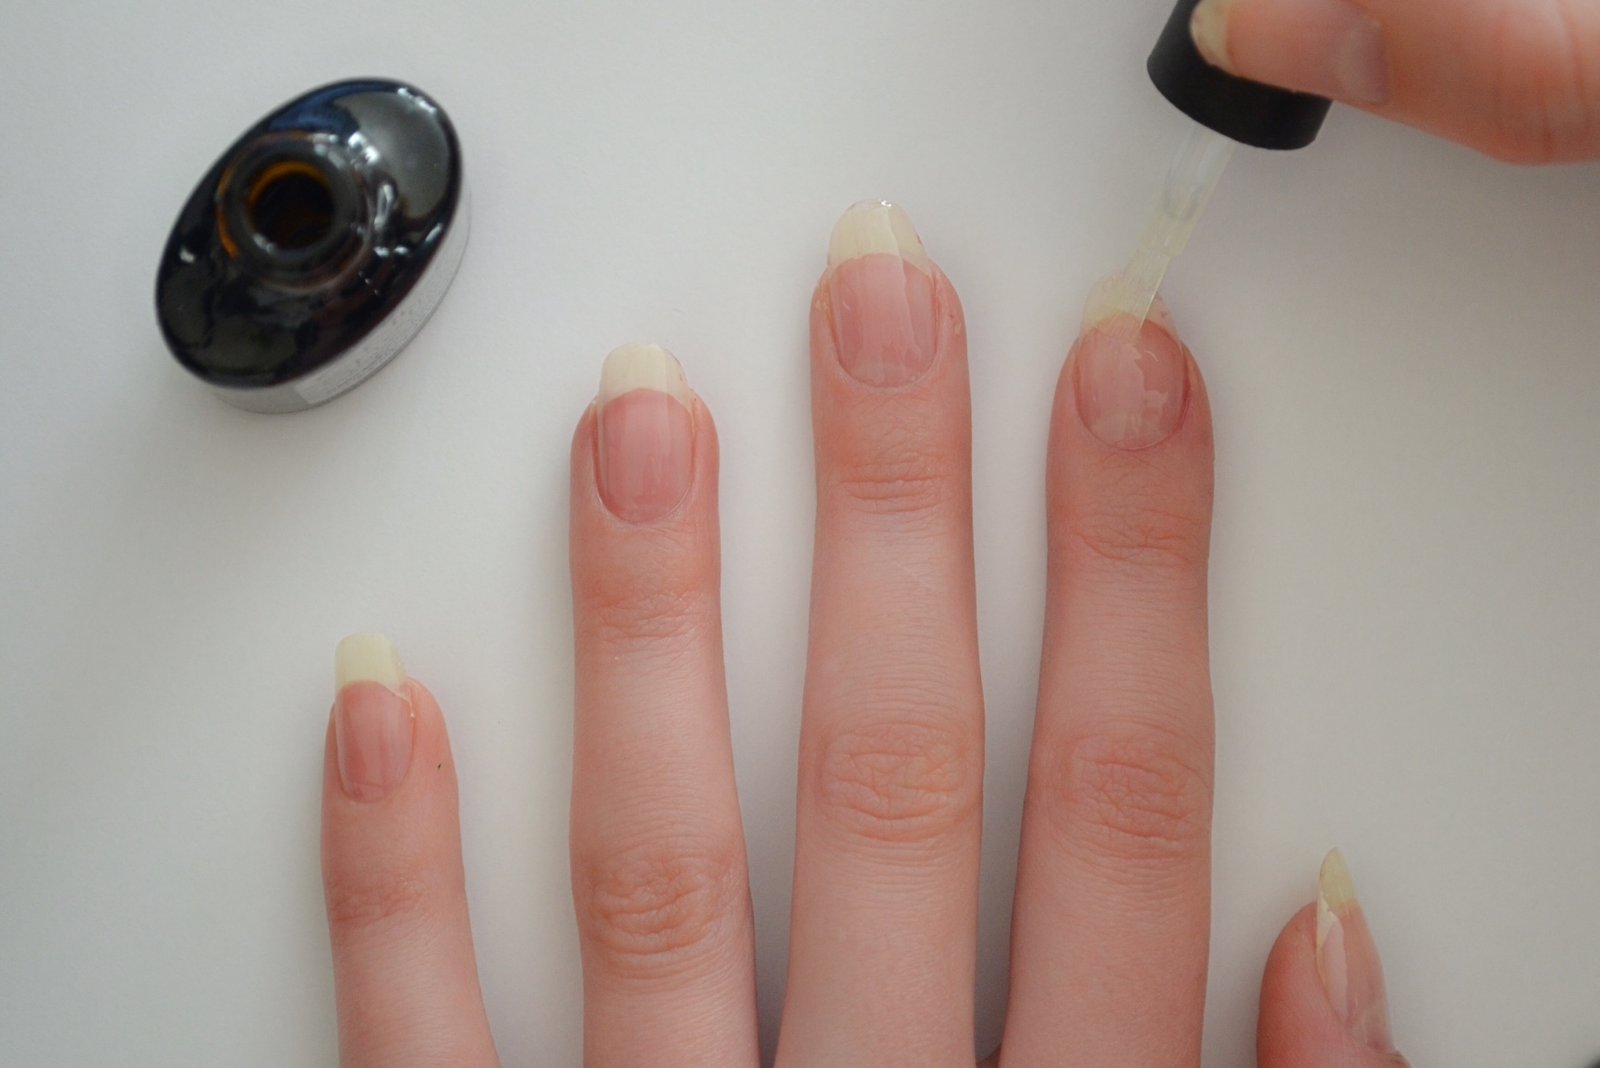
1. As always, apply CND Shellac Base Coat & cure it under the LED lamp for 2 minutes.
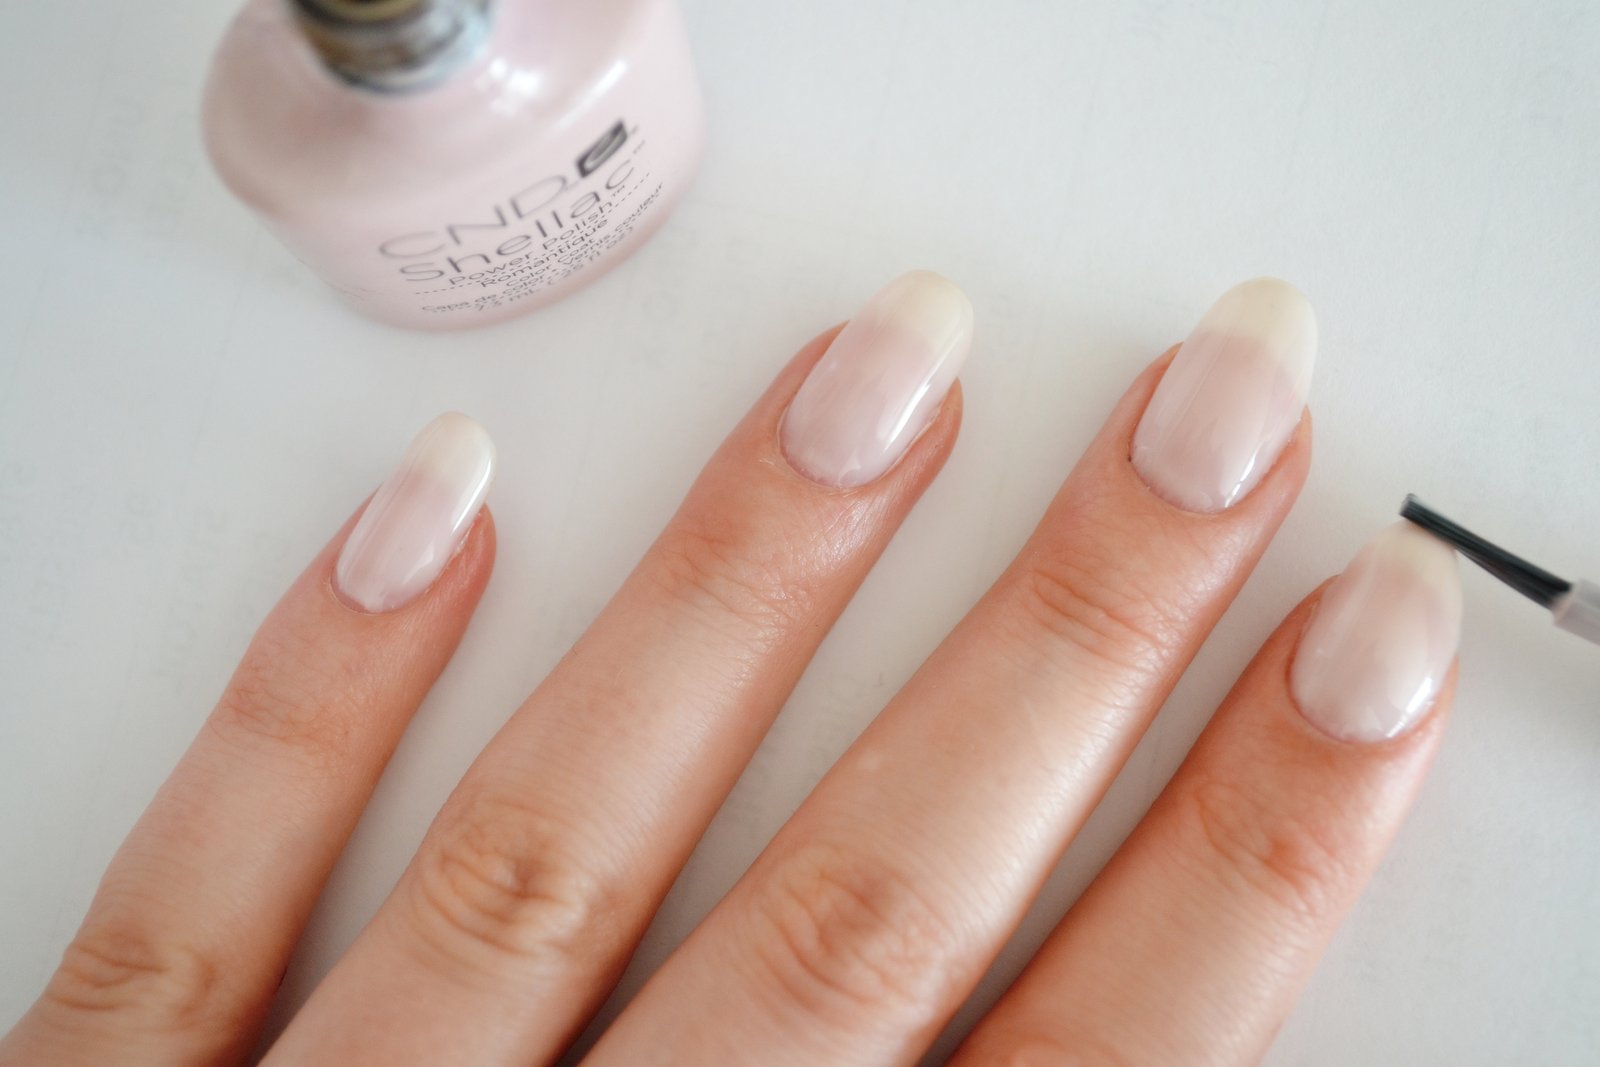
2. Apply two coats of CND Shellac ‘Romance’ over the nails & cure it under the LED lamp for 2 minutes.

I’ll be using this Nail Art Stamp plate. I will leave a link at the end where you can buy it 🙂
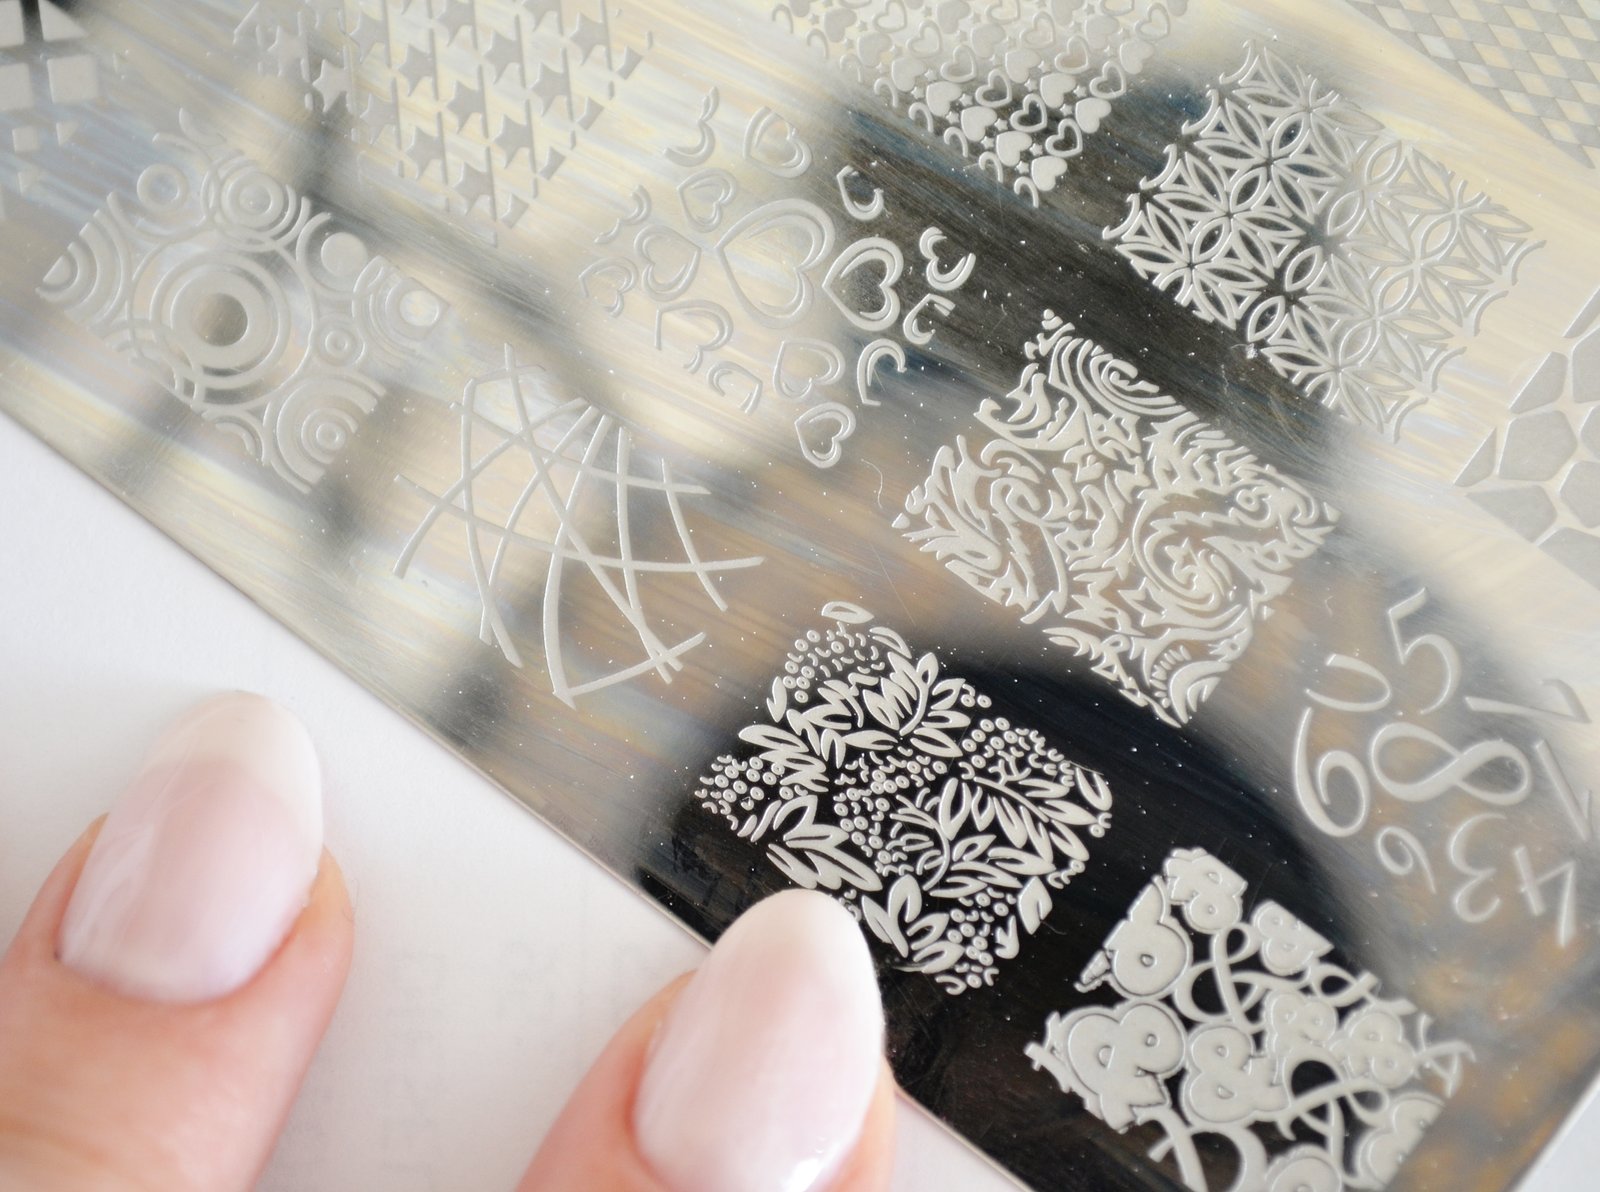
I chose the leave print 🙂

3. Put on dark purple gel polish. I’m using CND Shellac ‘Romantique’
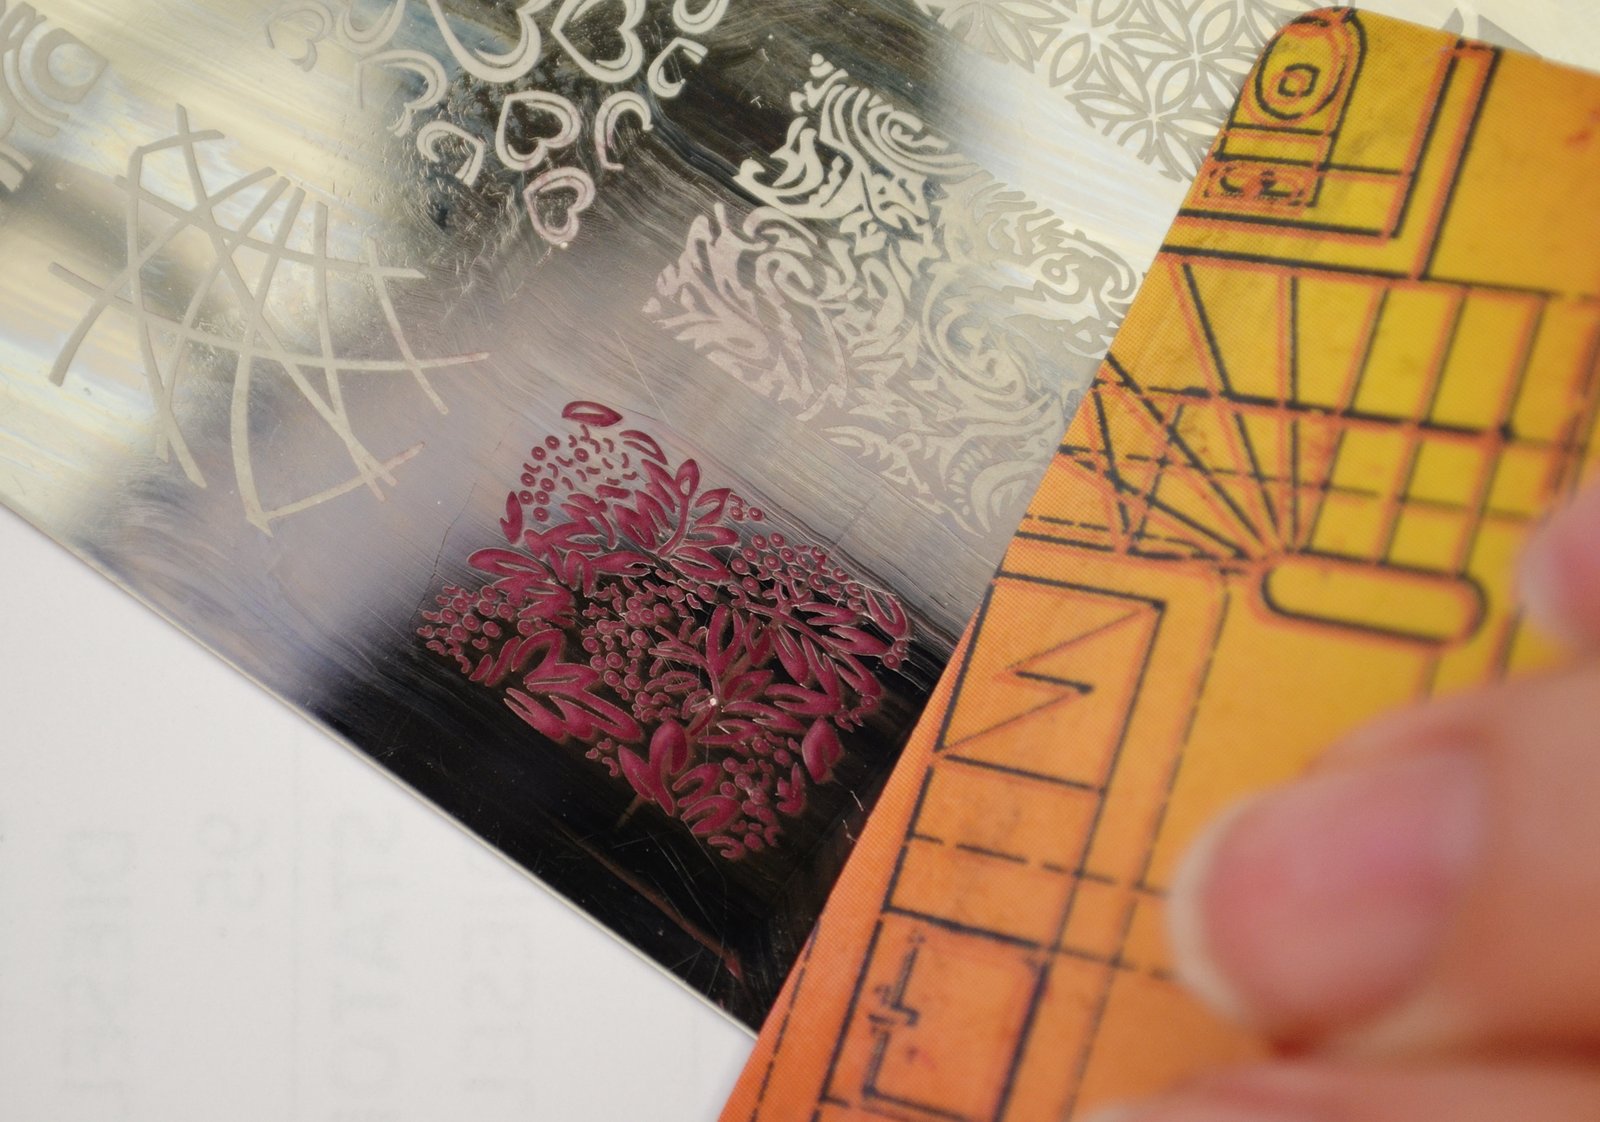
4. Brush the polish with some kind of card. 🙂

5. Take a stamper and press it on the design. This is what you should get
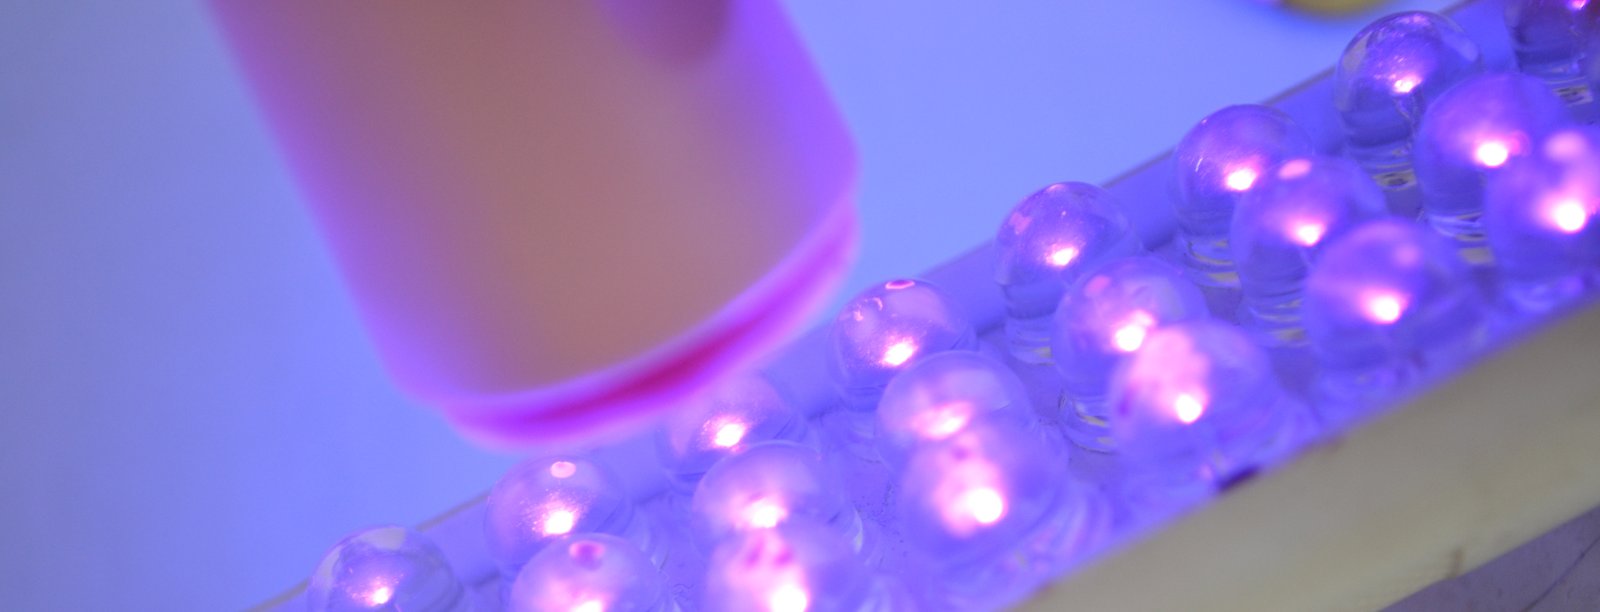
6. Now cure this design for 30sec. under the LED Lamp

7. Apply CND Shellac Top Coat on the design.
8. Cure again 🙂

9. Now you should be able to easily take off the design from the stamper.

10. Put the design on your nail and press it firmly with some kind of pusher.

11. Cut the excess with small scissors 🙂

12. Apply glitter gel nail polish and cure under the LED Lamp for 2min. After that, apply CND Shellac Top Coat and cure again. 🙂
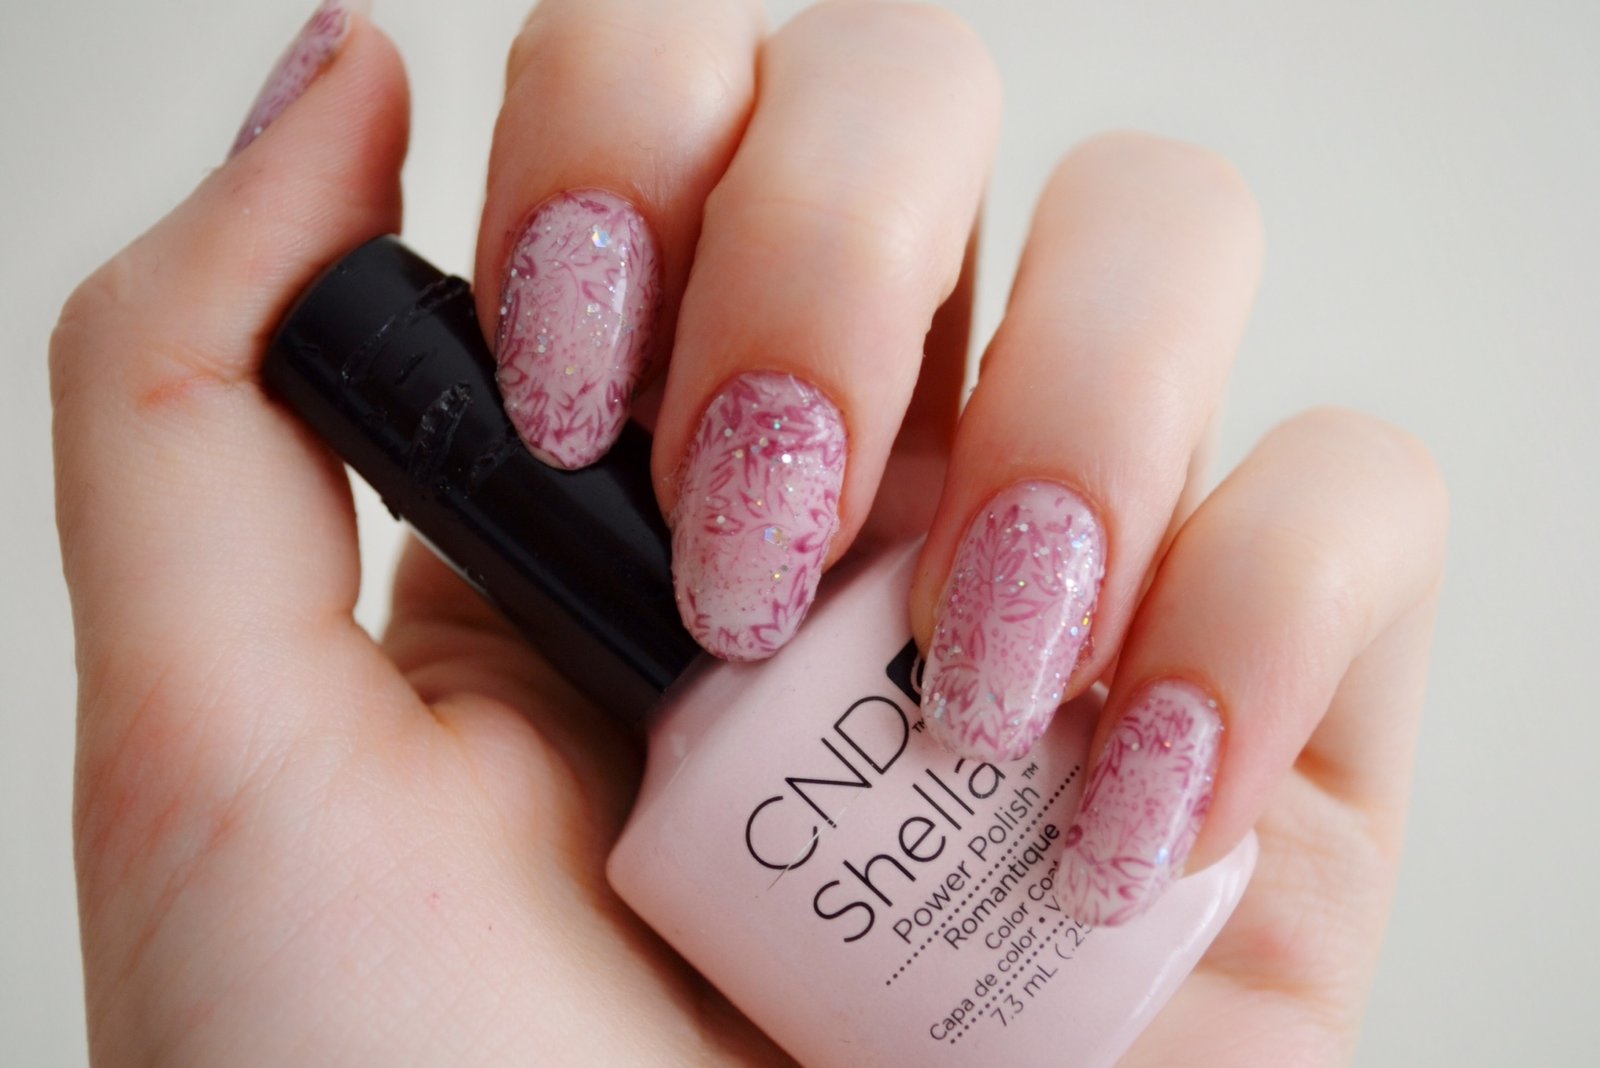
Nail Art created using CND Shellac Gel Nail Polishes.

Nail Art created using CND Shellac Gel Nail Polishes.

Nail Art created using CND Shellac Gel Nail Polishes.
______________________________________________
BUY THESE PRODUCTS:
MSK Shallec Gel Polish in White HERE
CND Shellac Gel Polish in ‘Romantique’ HERE
CND Shellac Gel Polish in ‘Plum Pasley’ HERE
CND Shellac Base Coat & Top Coat HERE
Stamping Pochoir Nail Art Decoration HERE
HOPE YOU ENJOYED THE POST!
If you want to get notified when I post something new FOLLOW THIS BLOG. <3

awesome!